Step-by-Step Instructions for Shopify's Filter by Tag
If you have a long product list, filtering your products by tag will help you find the product that best fits your search. You can add filters to some pages, including those for products, transfers, orders, draft orders, customers, and blog posts.
The text that follows is an instructional piece I wrote on the subject of Shopify tag filtering. I sincerely hope you will take the time to read this piece carefully because I believe it will be of great assistance to you.
Step 1: Go to a relevant page
When you've reached the appropriate page, select a filter by selecting it from the Filter drop-down menu.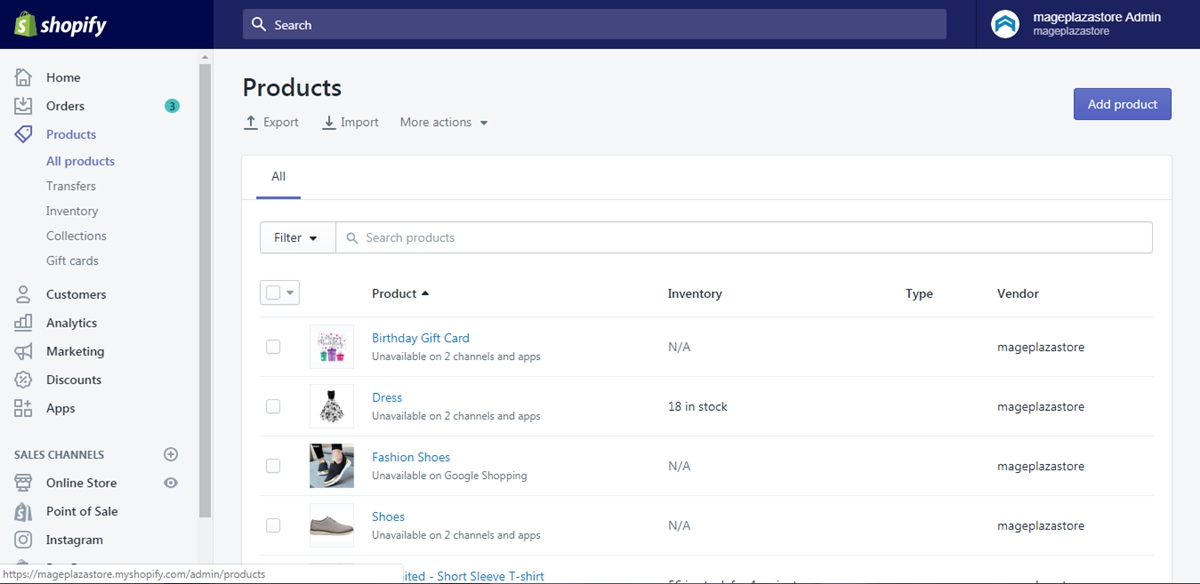
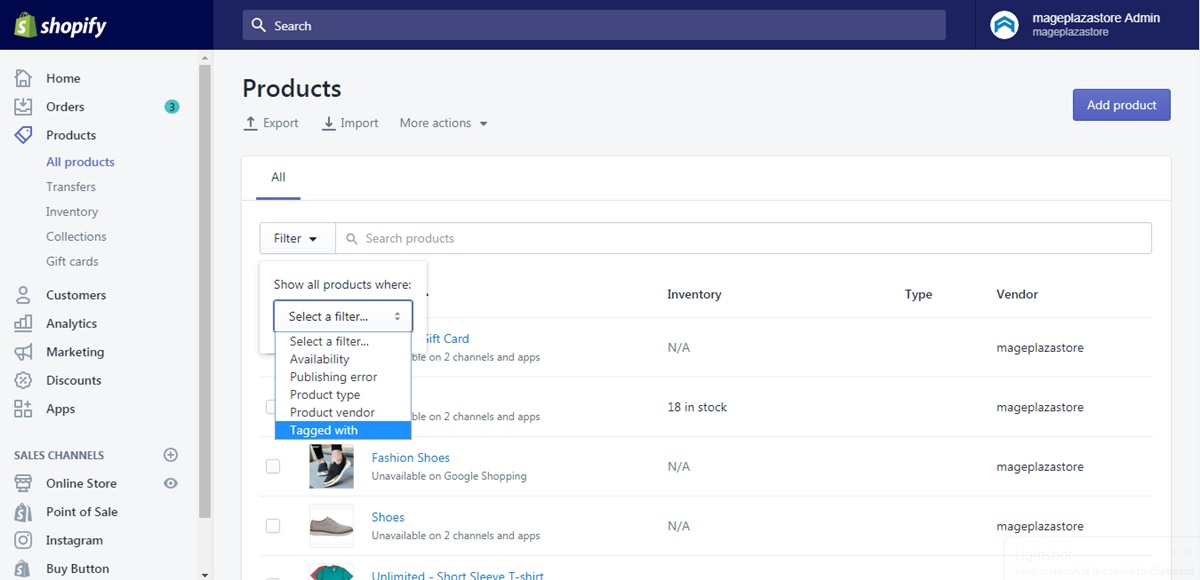
Step 2: Select Tagged with option
In the box named Select an option, choose the option Tagged with to continue.
Step 3: Enter the name tag
In the box below the one before this one, type the name tag. The tag name needs to match the name of the filter you intend to apply.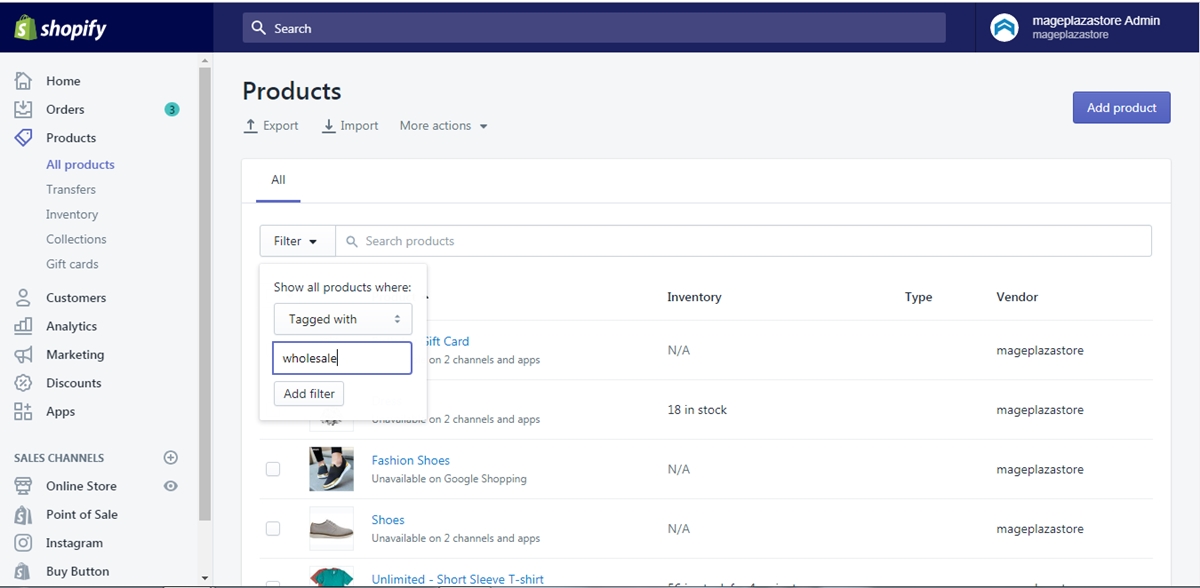
Step 4: Add filter
Click Add filter to apply the filer to the current page.
Conclusion
The information presented above concludes my essay on the subject of Shopify's tag filtering. I sincerely hope you will use what you learned from my writing in your store. There's a good chance that if you enjoy this post, you'll enjoy one of our other posts on searching by tag as well.


Comments
Post a Comment