on Shopify, how to export reports
You can modify your reports to fit your needs, as described in earlier articles, by adding or removing columns, filtering your Shopify reports, or setting a date range for a report. However, unless you are in Advanced Shopify or higher, you cannot save the file online after editing. You can export and preserve your report version on your laptop if you still wish to utilize it in the future. Simply follow the instructions in the following section of this post to learn how to export reports on Shopify.
How to export reports
Step 1: Choose a report
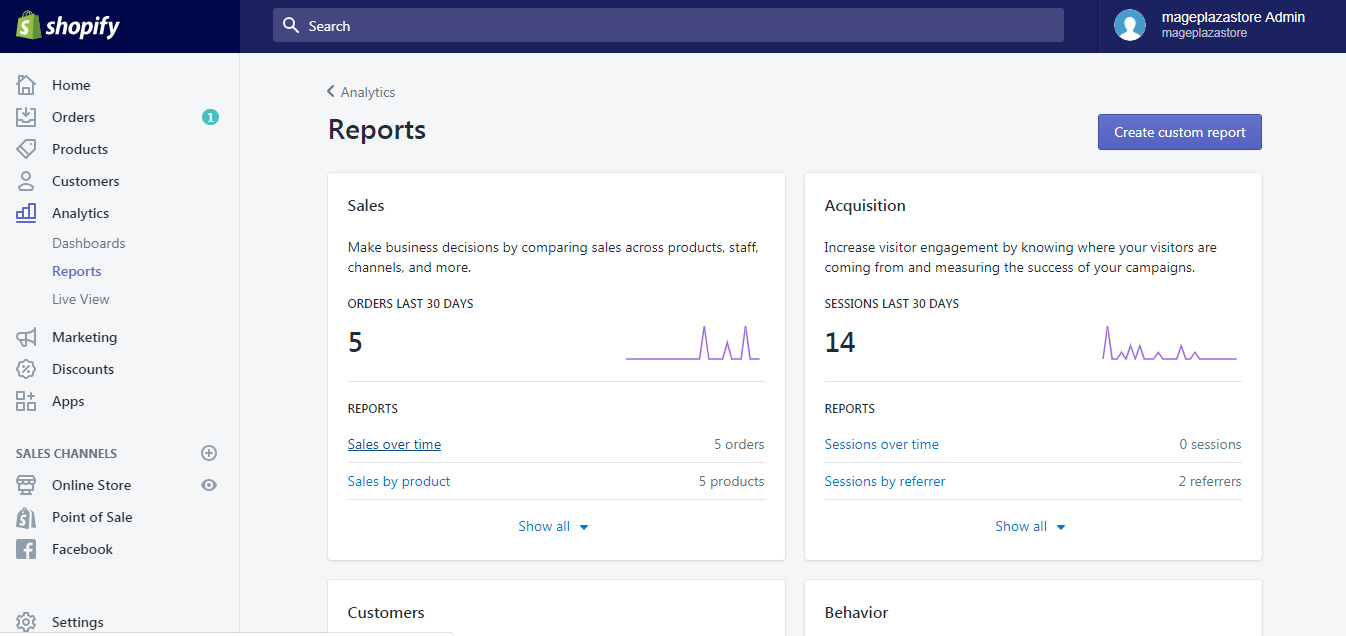
From the admin page of Shopify, select Analytics. There are three smaller parts in this section, including Dashboards, Reports and Live View. It will automatically move to Dashboards after you click into Analytics then you have to choose Reports to see all of your reports. The system categorizes them into groups, like Sales, Acquisition, etc. From these groups, pick a report that you want to export and open it. For example, I want to open the Sales over time under Sales then I will click on its name.
Step 2: Press on Export
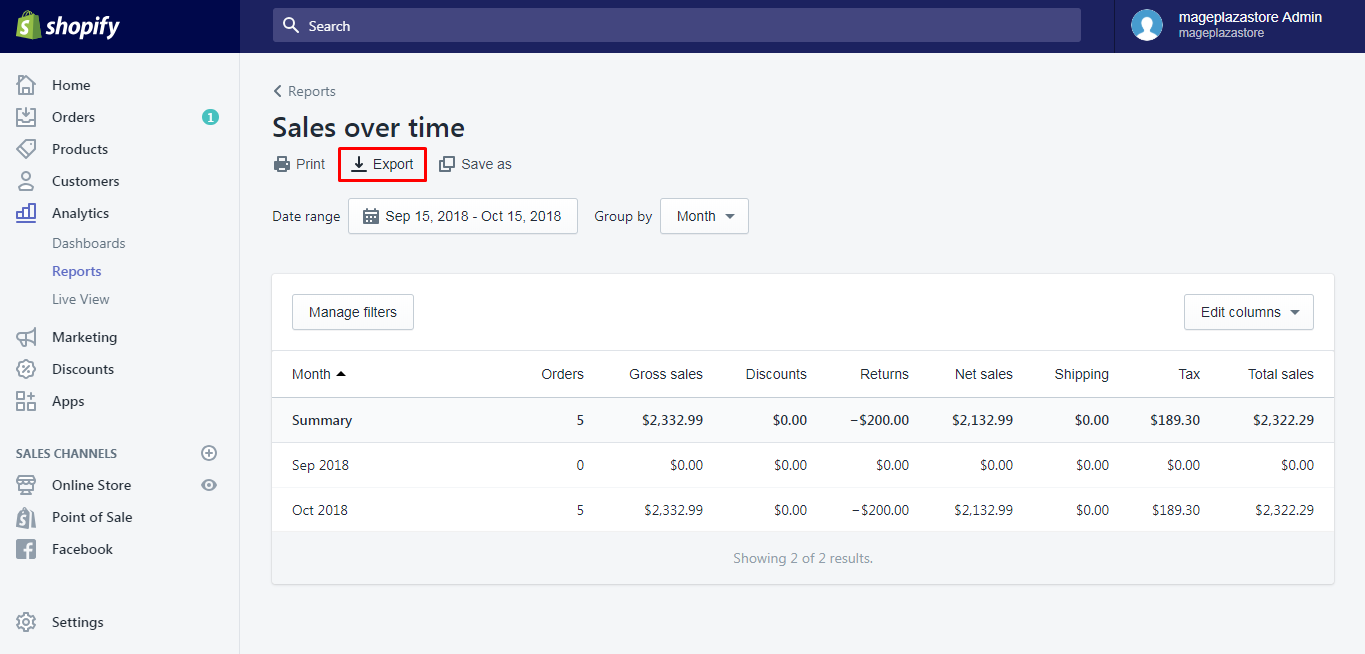
In the report page, you will find the icons for Print, Export and Save as respectively under the title of the report. Press on the Export which has a downloading symbol. The picture below describes my Sales over time report page and you can see that I put the Export in a red rectangular so you can imagine the position of it. Then click on it.
Step 3: Select Export button
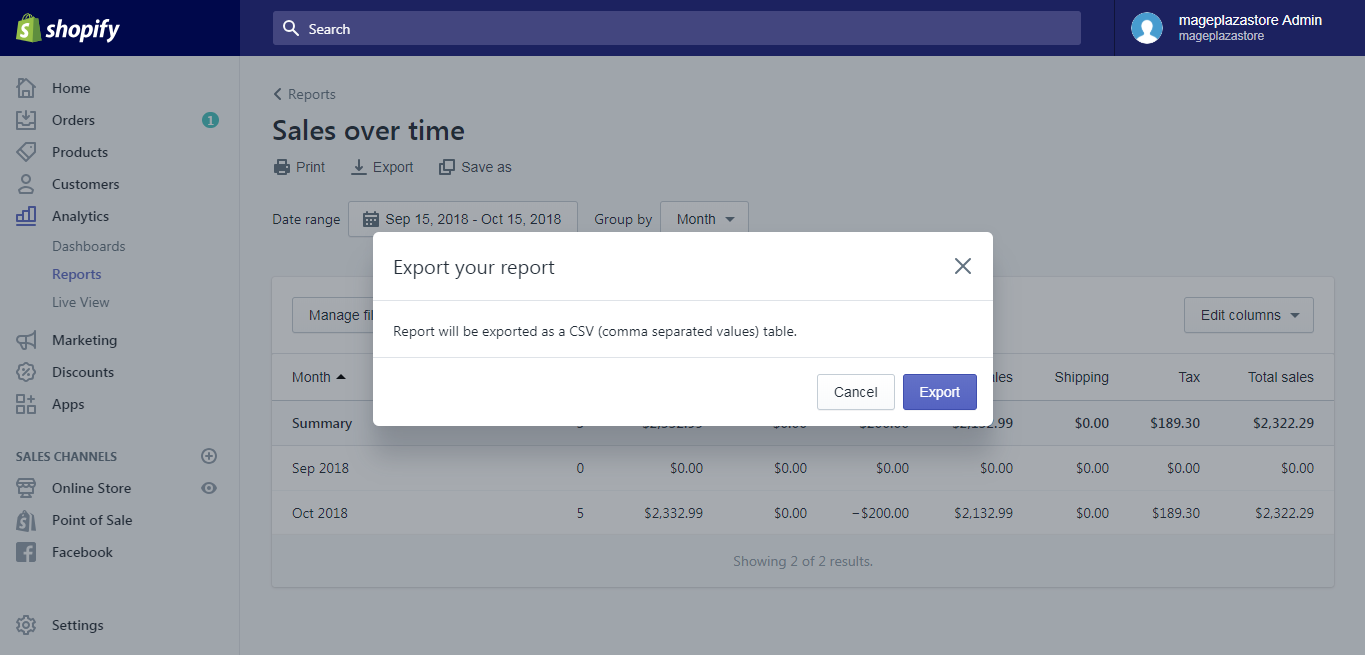
After choosing Export, another dialog box will appear on your screen named Export your report. The system wants to ensure your selection and informs you that it will be exported as a CSV (comma separated values) file. To confirm your choice, press on the blue Export button.
Based on your purposes, you can choose the type of report to export for three kinds of Finance reports which are Taxes, Sales and Payments. The Current page allows you to export data for currently displayed columns. Meanwhile, you can export the whole data with both displayed and not displayed columns by using Full report export. You can find the exported report in your default downloads folder.
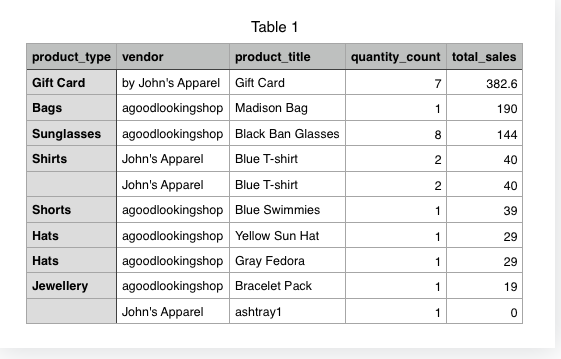
Use a spreadsheet program, such as Excel or Numbers, to open the file on your laptop. A text editor also works. Once exported, your file will appear as follows:
You can select Print instead of Export to download a PDF report file. If your PC use Window 10 or Mac, the file will be saved as PDF when you choose Print command but you will need to install additional programs (PDF printer or converter) if you use earlier versions of window.


Comments
Post a Comment